Microsoft OneNote is a handy app you can use to create notebooks on your computer with various sections and tabs to help keep your data organized. You can create a notebook for things such as work projects, vacation plans or as a place to store any other type of information. There is a version of OneNote that comes with Microsoft Office 365 and then the free OneNote app that comes included with Windows. The Windows version doesn’t have as many features as the pay for version, but it usually works fine for most people.
One thing that both versions lack is the ability to easily add a calendar to a section or page within your OneNote notebook. Sure, you can try to create a table or paste in a calendar from Excel for example, but it usually ends up being too much work and doesn’t look right when you are done. So in this article, we are going to show you how to insert an editable calendar into a OneNote notebook.
The process for inserting an editable calendar into a OneNote notebook will vary just a little depending on whether you are using the full version of OneNote or the version that comes with Windows. For our example, we will be using the full version, but the video above shows the process on the Windows version.
I want to place a calendar for the month of June into my Schedule page within my mountain biking trip notebook. You can place any number of months you wish into a section, but I only need the one for my bike trip calendar.
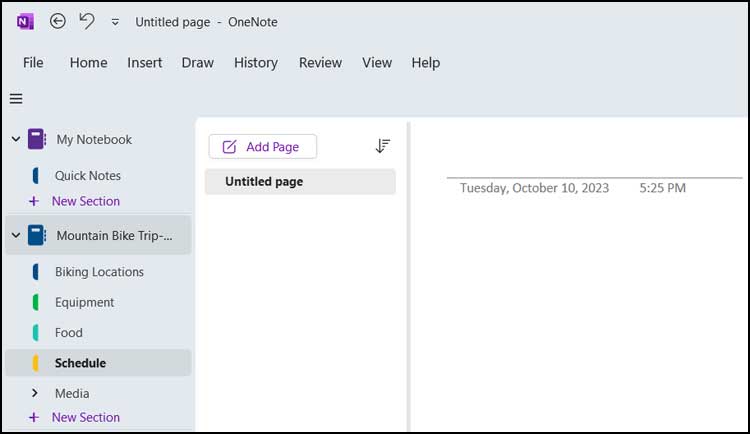
The image below shows that I have a Mountain Bike Trip notebook with a section called Schedule added to it. Within the Schedule section is a blank untitled page which I can simply delete if I don’t need to add it since when I add my new calendar, it will create its own page.

Now that I have a place for my calendar, I can then go to the Calendar Labs website and download the calendar template for the year I need to use for my notebook. You can find these calendars here.
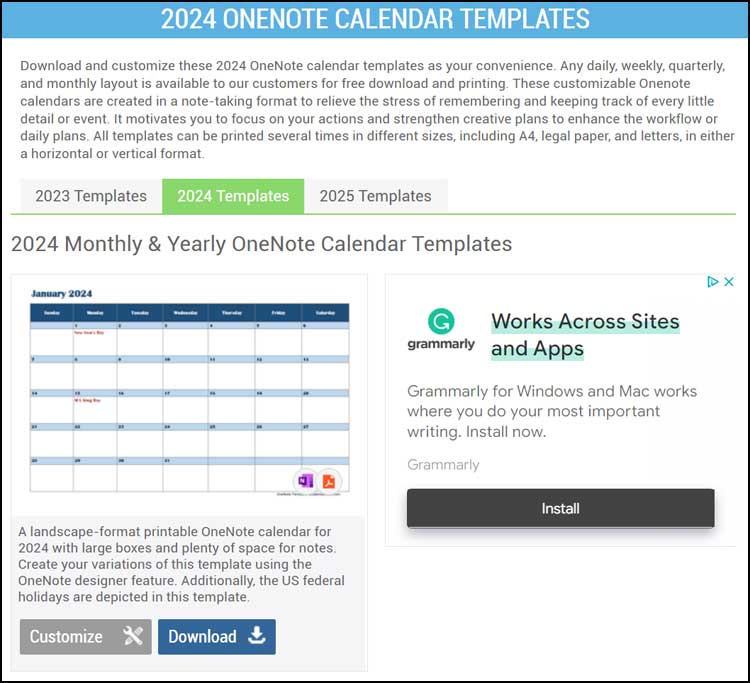
Once I choose the right year, I can then click the Download button and save the template file to my computer. The file will have a name similar to 2024-onenote-calendar-template.one depending on which year you download.
Next, with my notebook open, I can double click the template file I downloaded and it should be added as a section at the bottom of the section pane on the left. You will then see all 12 months of the year listed as individual pages.
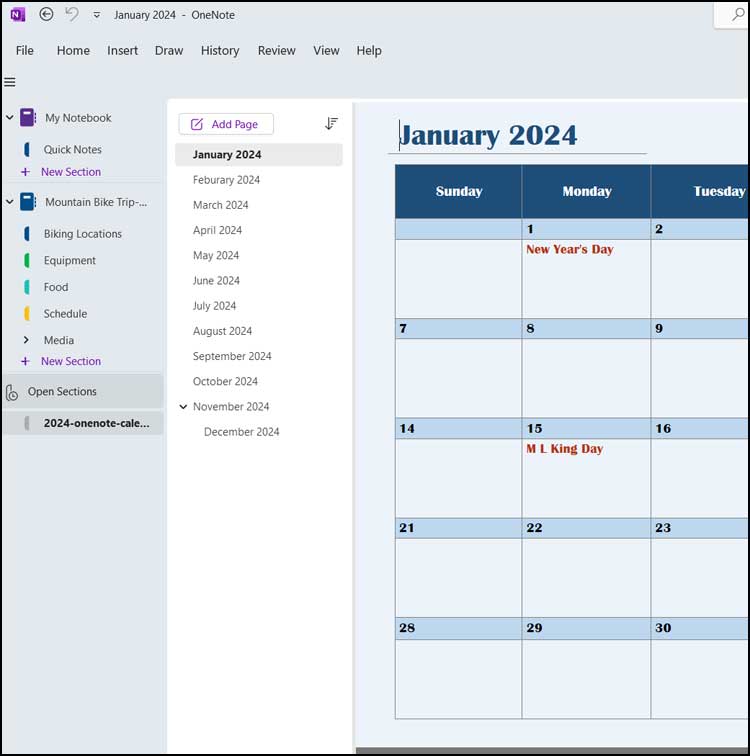
Since I only need the June calendar for this situation, I can simply drag and drop the June 2024 page into my Schedule section.
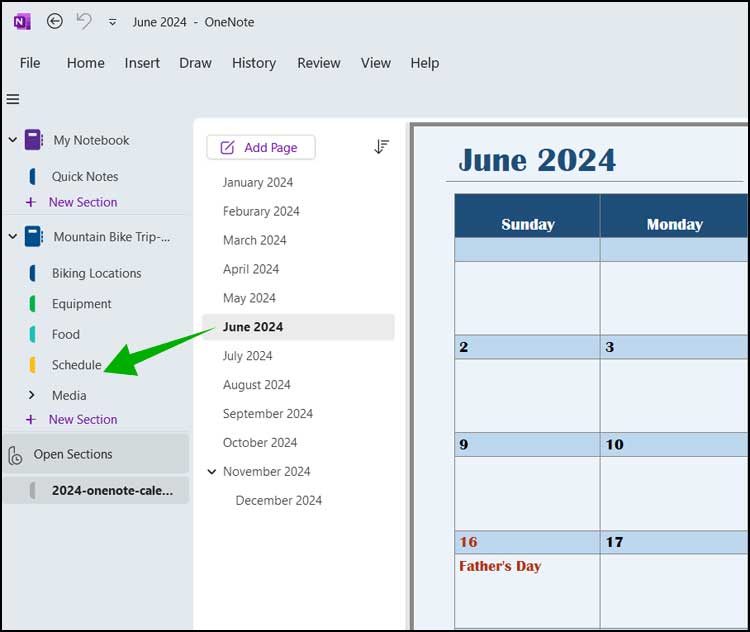
Once the June month is there, I can either leave the default name of June 2024, or I can right click it and choose Rename and then call it Ride Calendar for example.
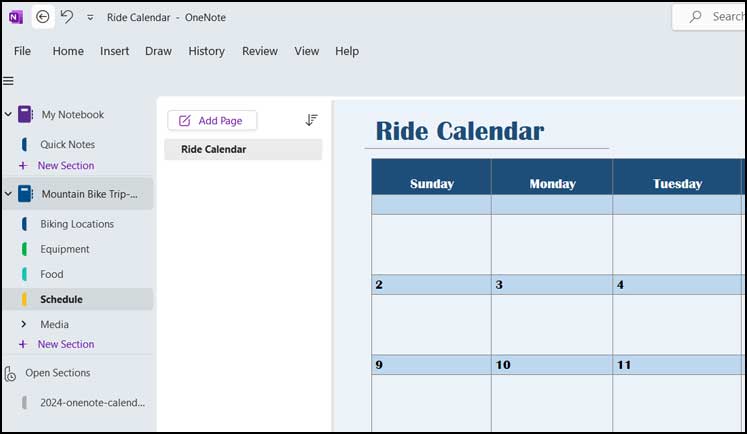
Now that I have my calendar in my OneNote notebook, I can then start to add my events to the days that I have things going on and format the text as needed just like you can on any other page.